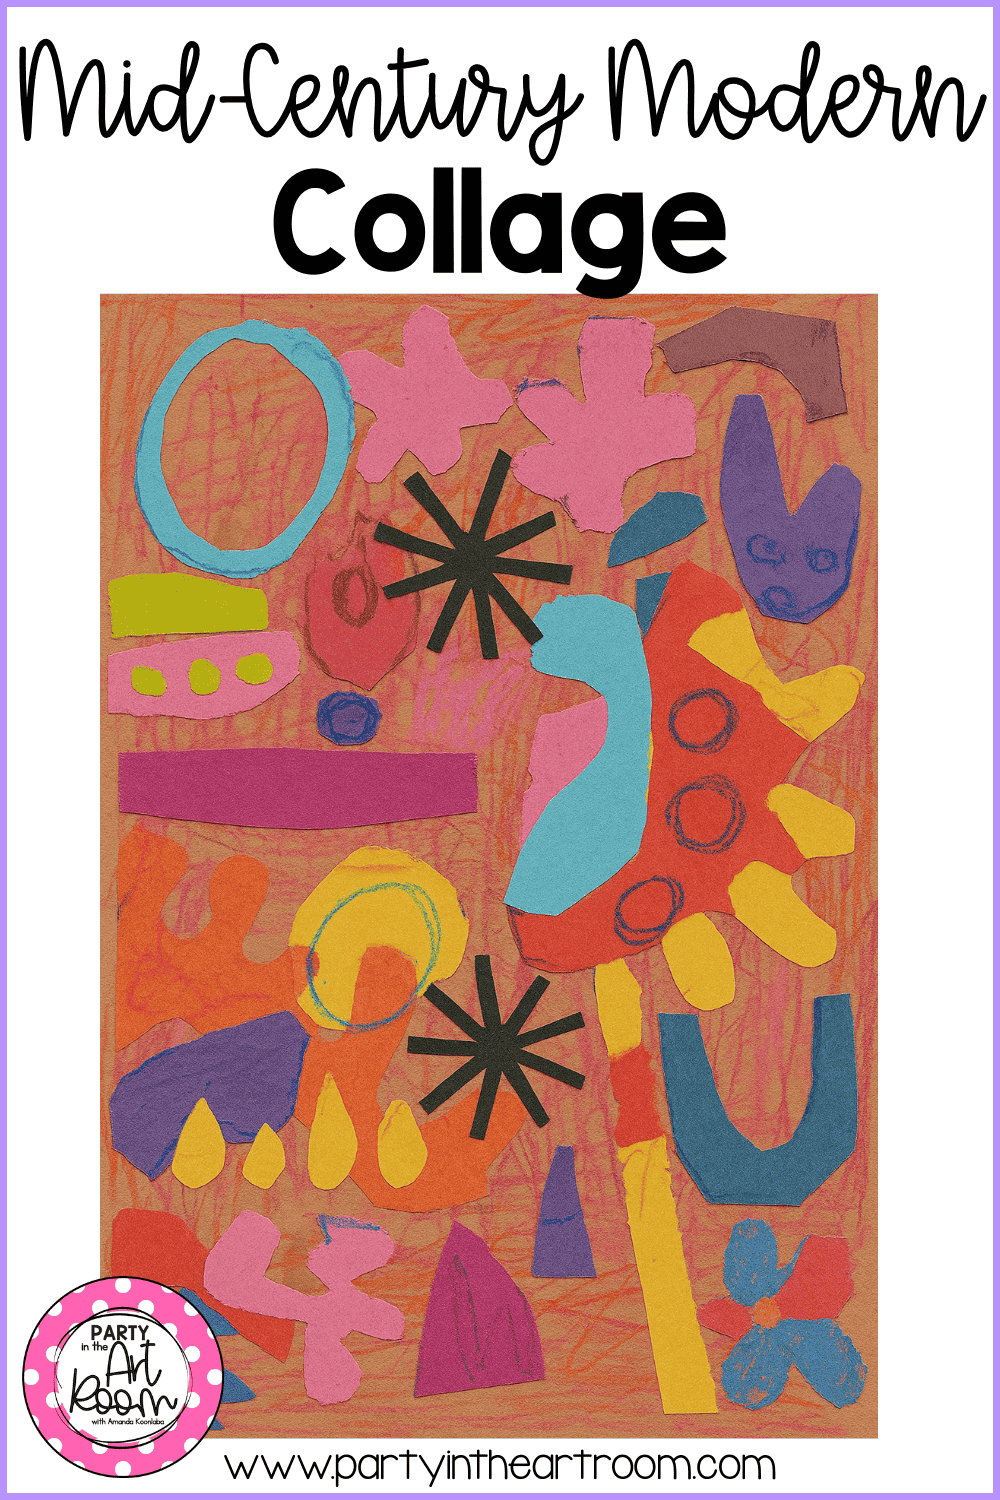
One Surefire Way to Turn Fractions into Percentages Using Beautiful Quilts
Teaching fractions is so hard! When I search for help on the internet about how to turn fractions to percentages, I find all kinds of activities - none of which actually help me! Or, they are very boring and disinteresting for my students.
The problem is that my students need to be able to convert fractions to decimals and turn fractions into percentages just as much as they need to be able to do all the other things with fractions (ie, adding, subtracting, multiplying, etc).
We have a solid scope and sequence for teaching fractions, and the standards make it clear when each process for using fractions should be taught. Honestly, though, it all loops together in the real world, and I really wanted to find a way to help my students understand that.
So, I taught my students how to make fractions into percentages and convert fractions to decimals by using a fraction quilts art project.

I taught my students to turn fractions into percentages and convert fractions to decimals by using a fraction quilts art project. You can see some work samples here.
Student Engagement is the Key to Getting Started with Converting Fractions
To teach my students how to make fractions into percentages, I started by showing them images of real quilts and bringing a quilt into the classroom. I shared with my students how my great grandmother had made the quilt by hand for me when I was a baby. She gave it to my mom who saved it for me. I received the quilt on my wedding day as a gift from my great grandmother who I had never met. It was very special and had so much meaning for me.
Students really get engaged in learning when they make human connections like that. They love to learn about their teachers.
This was a great hook by itself, but because I knew my students were going to design a quilt with paper as an art project to explore making fractions into percentages, I wanted to also teach them about quilting as an art form.
So, we talked about the principles of design of art as well as the elements of art that were used in the making of the quilt.
My great grandmother did not sit down and intentionally use these. She did it by using a template. Whoever created the template for the quilt, had already instinctively used the principles and elements. This is going to be an important concept when I talk about the artistic process for students later. Just keep the idea of using templates in mind.
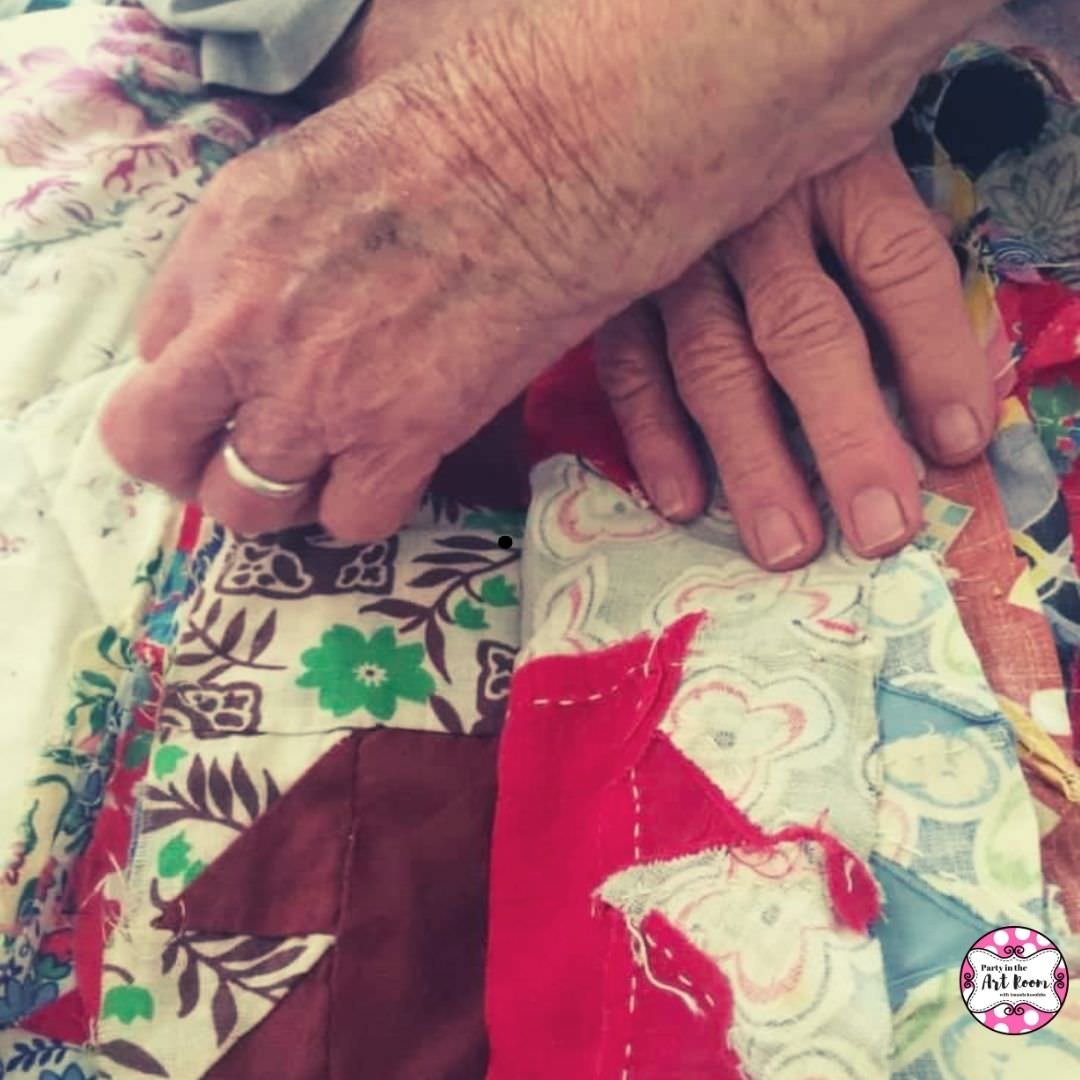
This is a photo of my grandmother’s hands showing me extra quilt squares that were left over from the quilt her mother made for me when I was a baby. It was the sweetest moment. My 88 year old grandmother said, “My mama made these.” I get a little teared up thinking about it because we lost my grandmother to Covid-19 in 2020, but this is really worthwhile to share. When we talk about our human experiences with our students, we connect with them in really powerful ways. That’s a huge piece to whether they really learn and retain knowledge.
Talking About the Principles of Design and Elements of Art in Quilting
Since students are naturally curious and enjoy looking at new things, I always like to introduce them to a work of art before I let them create anything. This is a strategy that I use to boost student engagement and helps them make real world connections. It also taps into their background knowledge.
Here are the exact steps I took to get my students to talk about these quilts as works of art:
Ask students what they see when they first look at the quilt.
Some students will probably say colors first, while some will probably say shapes. You can select the one you hear first to start the discussion. Call on students to tell you about the colors or shapes they see. Have them use descriptive language and positional words to help your eyes find what they are looking at.
This is definitely a language-building activity because you are not allowing them to just point to what they see. They will have to say something like “There’s a rectangle near the bottom of the quilt. It is blue with white dots. It is to the right of a square that has yellow stars on it.”
Also, you should know that if a student says something other than shapes or colors, you can just kind of ignore that response until the next step. The purpose of this is to help guide them to look for details in a systematic way. You are also helping them learn how to spot relevant subject matter, which isn’t always going to be obvious in a work of art (this also relates to text, but we will talk about that another day).
Talk about imagery and subject matter.
Once they have identified the colors and shapes, you can start talking with them about subject matter. Get them to tell you why they think the subject matter was used. It could be that the person who made the quilt was using scraps of fabric from old clothing, etc. You may not know the actual reasoning, but using background knowledge and the evidence you see in the imagery will help you and your students make good guesses.
Have them notice whether anything repeats.
Quilts usually have repetitive elements. Have your students notice these. Talk about how it makes a pattern and whether it looks appealing to the human eye. It is okay to talk about personal preference here. Some students might like the blue patterns because they like that color. Some might not.

1 Easy Step to Creating the Artwork
Describe the project. Students will be designing a quilt using patterns and monochromatic colors. You’ve already talked about shape, color, and repetition. Now it is time to be more specific about those concepts because the students will be using that to create on their own.
You can give them a template to use to design the square. They won’t actually be cutting and sewing fabric for this lesson. So, starting with a design template is fine.
Let me address something, though, about artistic processes for those of us who can get hung up on things like this when we overthink. It is not always appropriate to use a template in art-making, but sometimes it is. I do some work as a professional artist, and I use templates when it is appropriate. If you think about the way quilts are generally made, a template is used to lay out the design in the first stages. Thus, my reasoning is a template is appropriate to this project.
You can make a copy of the template and have the students use their materials right on the page. As long as they are using colors, patterns, shapes, and repetition; the art project is still quite authentic.
Tell them to use monochromatic colors to create patterns using any material. They could use markers, crayons, oil pastels, colored pencils, paint, or any combination of those. Just make sure they use monochromatic colors, which means colors that are the same but vary by intensity (think light blue and dark blue and everything in between).
So, to summarize, the one easy step is this: Use monochromatic colors to create patterns that repeat on the template.
That’s it! Super easy!
How to Turn Fractions into Percentages Using Fraction Quilts

This square was created with crayons and permanent markers.
Calculations
Now, the students can find the fractions that correspond with each design. Essentially, they are creating a visual representation of the mathematical concept.
For this particular lesson, I asked students to find fractions based on the image they created. If you want to make this process a bit smoother, you can differentiate by giving your students fractions and having them create an image based on those.
Here’s an example:
You could give the student four fractions (say 8/32, 4/32, 16/32, 4/32). Then, the student would create a pattern to correspond with those fractions.
Both ways have value, and it might even be beneficial to have students do both versions. That way they are reading and writing fractions. This is a great method of differentiation.
After the art is created, the student will need to complete the following chart to represent the mathematical concepts that correspond to the artwork.

Reflections
Next, have students think about their work by writing down their reflections on a worksheet or in a journal. This would be a great art journaling reflection idea for your students.
I think the reflection is a crucial piece to this lesson. In fact, reflection is very important to any work. This reflection shows that the student can use essential vocabulary from the lesson (monochromatic, reduce, divide). As the teacher, you can easily see if the student is understanding and using the strategies that have been taught, both for math and for visual art.

Ready-Made Fraction Quit Lesson Guide
A lot of time, we stick with the same old worksheets and lessons because we simply don’t have the time to try something new. I totally get that, and I’ve been there. That’s why I wanted to make it as simple as possible to teach students how to make fractions into percentages - using art of course!
I have a ready-made fraction quilt lesson that you can begin implementing right away. It’s the same exercise I’ve talked about in this blog, just in a done-for-you format, so you can save yourself time. It includes a typed step-by-step lesson plan, photos of student examples, assessments, reflections, a template for the quilt square, and more.
My goal is to save you time planning, so you can focus on what matters - teaching.
Final Tips
I know it is tempting to skip over some parts of this lesson to get to the calculations part of it quicker. After all, that’s what your students will be tested on. That’s where the high-stakes accountability come in to play.
I urge you to make time for the full lesson as it is presented here. Without the art, this is just a worksheet lesson. Those come a dime a dozen and don’t really have a big impact on students. If you want our students to remember how to make fractions into percentages, then you have to work the process! Let’s unpack that for a minute.
Reasons Worksheets Don’t Actually Work for Teaching Fractions (Or Anything Else!)
They are all the same and offer very little room for creative thinking.
Students can’t connect with a worksheet. The humanity is missing.
They can be boring and students act out when they are bored.
Students don’t retain learning when it is isolated.
So, as you are teaching this lesson, I URGE you not to skip over these important parts:
Looking at quilts as works of art and telling stories about quilts.
Requiring students to use monochromatic colors.
Reflection on both the art and the math.
Conclusion
As a teacher, you are already having your students look at images and determine the fractional representations. Having them design a quilt square while using monochromatic colors adds the engagement and creative thinking component.
Any teacher can do this! Plus, now you’ve got me to help.
You can always contact me with questions, to bounce ideas around, and brainstorm. I will be happy to give you feedback!
A Quick Win for Independent Art Time
Project Aqua is a free iPhone and iPad app that kids can use on their own to draw, color, and play with creative effects. It includes a mix of ready to go activities like coloring pages and short video tutorials, so students can jump in without needing you to teach the tech first. The effects are the fun part because kids can experiment and transform what they make, which keeps them creating longer instead of doing the same thing for two minutes and moving on. It also works offline, which makes it a solid option for travel days, sub plans, indoor recess, or any time you need a calm, independent creative choice.
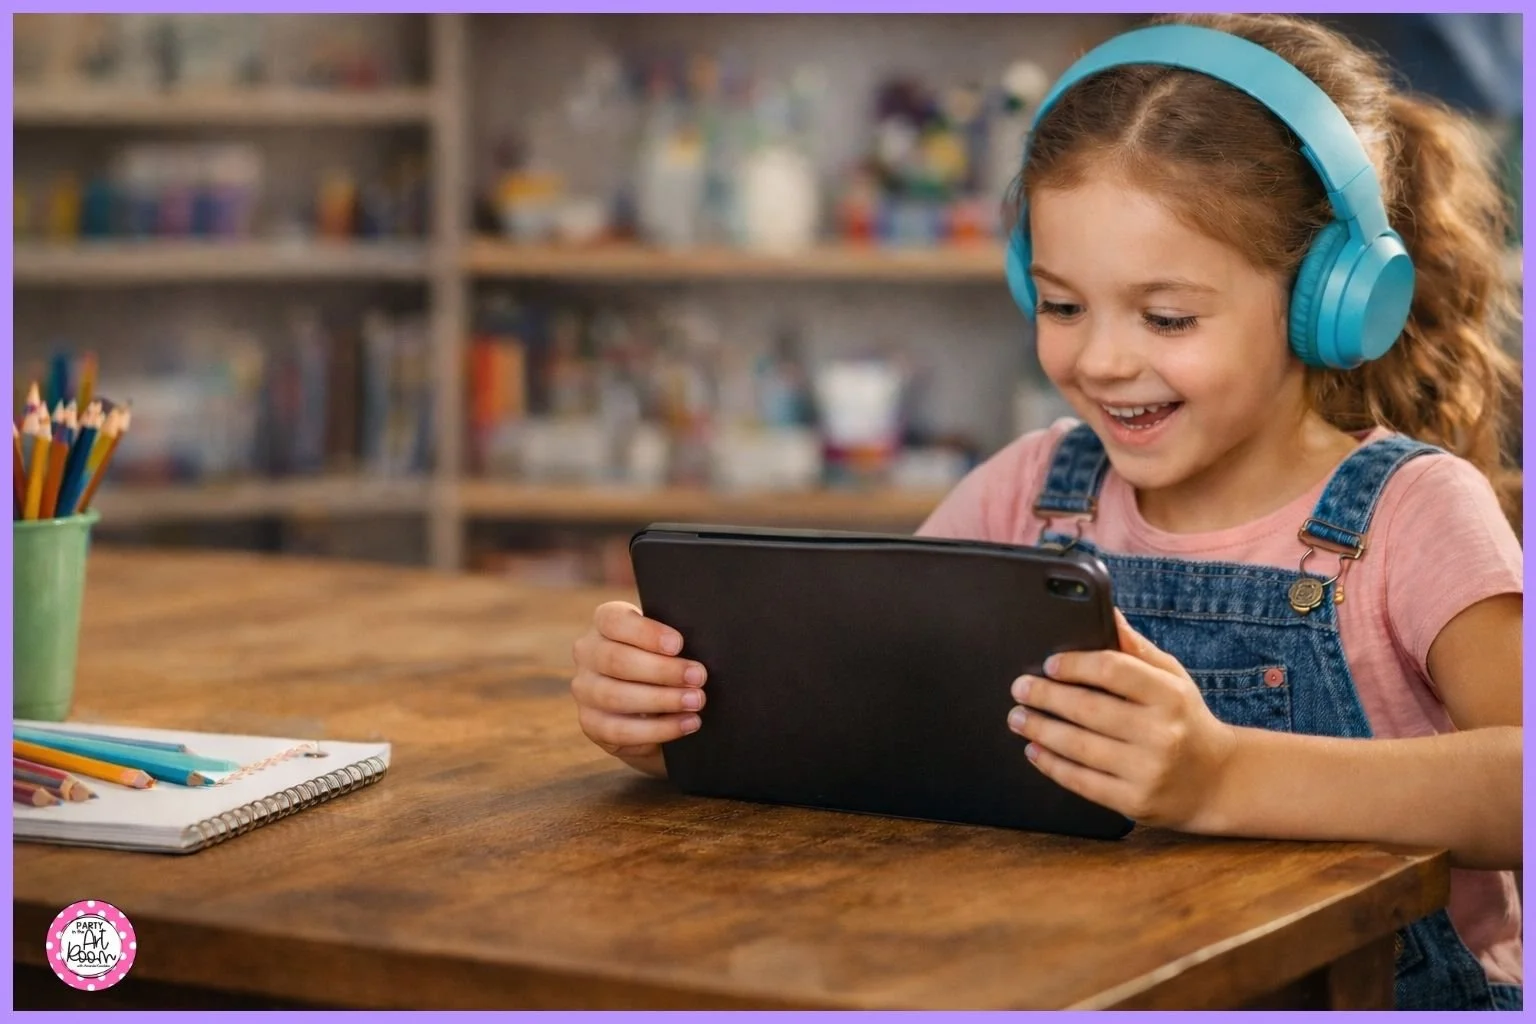
Check out Project Aqua on the App Store!
Affiliate Disclosure: Party in the Art Room is supported by its audience. When you purchase through links on this site, a commission may be earned.