Top Tips for Painting an Exterior Mural with Students
Art teachers and mural painters alike will tell you that the best way to learn how to paint an exterior mural is to paint an exterior mural.
It can seem like an unreasonable and unrealistic expectation for the teachers at a school to take on the task of creating a mural with students. That's because there's a lot of things to consider, especially when the mural will be outside in the elements.
I admit it is a little daunting, especially the first time. However, with good information, you’ll be able to create murals at your school with your students in no time! (I sincerely hope if you are tasked with this, it is something you want to do and are excited about. I hope you don't have to do any of the work on it outside of the normal working hours or have to purchase anything from your personal funds. I mean it!)
Once you understand the following considerations, you can move on to actually creating a mural. In other words, this is the best informational starting point for creating exterior murals you'll find anywhere. We will talk later about how to specifically make mural painting work with students. So, stay tuned to the blog.
My specific goal here is to point you in the right directions. I want to give you some considerations and tell you where to go to get information more specific to your context since we all don't paint murals in the exact same location. So, rather than recommend exactly what paint you should buy, I will share with you some things to think about and where to go for more. Your local folks will be valuable to you in this process. Just keep reading!

Location
Be sure you have permission from property owners. Sometimes you just need permission from the school's principal. Sometimes you need permission from a district-level official in charge of buildings and grounds. Sometimes you need permission from a superintendent or the school board. The place to start seeking permission, though, is with the principal.
If possible, use a place where there is already artwork so that you can complement it or if not, make sure to use material that will not harm natural vegetation. If there's a concrete or blocked wall that can be painted, great. If not, explore installing out-of-the-box options like wooden panels or fence boards.
I think a shady area is best for exterior murals because the less direct sunlight, the less the paint will fade. However, this is not a critical consideration. Plenty of murals are painted right in the sun. Just know, you may have to touch up and brighten up the paint every few years.
If you have an exterior wall at your school that is covered by an awning, consider this an ideal spot for a mural. The less exposure to the elements (rain, wind, snow, etc.) the better. Again, though, as with the direct sunlight, it is okay if you can't paint your mural where it won't be impacted by the elements. Just remember what I said about touching it up. Wink wink!
(I'm winking because if you think you will be over it in a couple of years and not want to deal with touching it up, choose the location carefully!)
Surface Prep
Preparation is key to a successful paint job. All old and peeling paint should be removed by sanding or scraping, and you’ll need to prime any bare wood before painting. I wouldn't let students take part in paint removal. You just never know what you are going to get into with older paint, and some school buildings are OLD! In fact, you should be really careful doing this yourself. Get some protective gear as a minimum precaution. I'm not qualified to recommend PPE for paint removal, so ask your principal to have a buildings and grounds person or other knowledgable person to advise you on safety precautions.
After removing paint, and if possible, wash your mural surface with soap and water to get rid of dirt, grease and loose paint that can cause flaking during application. Again, ask for help. You might be able to get someone from your district to pressure wash the area. If your district doesn't have the ability to provide that type of maintenance, ask for permission to seek a parent or community volunteer to do this. Many private citizens own their own pressure washers and are willing to help their local schools with these types of projects.
Different surface types require different surface prep, but if you are painting on any type of concrete, get a concrete bonding primer. Sometimes this can be added directly to the paint, but I have only ever used it as a separate step in the process. You can just wash it over the surface, just like a primer, without being precise. It doesn't take long to complete this step, and one coat should do it. The types I have used look just like crappy white paint! Don't worry if it looks bad, it is just a primer. If you need to use white in the artwork, you'll want actual white paint on top of the primer.
You should be able to talk to anyone working in a store that sells exterior paint about exactly what type of primer you will need. Ask around, you may even have some parents with expertise in this area. I did, and it turned out that one of our parents worked at the paint counter at Lowe's. He was a wealth of information.
Paint Selection
When choosing paints, consider whether your mural will be exposed to sunlight. Most exterior paints are formulated to withstand some exposure to sunlight. However if your mural is going to be in the direct sun, you’ll need special exterior paints that are more resistant to fading. Wall paint is expensive. Exterior paint is even more so, and this is one case when the more you pay for it the better quality it will be. If you can hustle up the budget (without spending your own money, teacher...I am not even kidding! Do not do that!), buy the more expensive brands of paint.
Take into account where your mural will be placed. If it’s in a low-traffic area, you *could* go with something a little cheaper. If it’s in a high-traffic area or there are environmental elements that might affect how well paint adheres to walls, such as extreme temperatures or moisture levels, it’s worth investing in higher quality paints to ensure your mural stays intact. Just remember little kid hands that come straight out of the cafeteria with barbecue sauce and grape jelly on their fingers will touch this painting if it is anywhere in the line of school foot traffic.
Lightfastness
You want to make sure your paints are lightfast. Your students’ artwork will be displayed outside—that means that it’s going to get some exposure to sunlight. No matter how much you love their work, over time it will fade. Look for something like "lightfastness 6/6′′ on your acrylic colors and tester pots. Lightfastness refers to a paints ability to withstand exposure to light; six is excellent and one is not at all.
You might be tempted to buy the tester pots of paint since you can get more colors and they seem cheaper. However, the tester pots are not the highest quality product and they are likely to be low on the lightfastness scale. I think this is fine if you are painting indoors where there's not too much sunlight. I have actually used these before in this context, but I just want to make sure to warn you against doing this with an exterior mural. You are going to invest too much time and money in this project to use tester pots that we know are lower quality than the larger pots of paint. Think of it like this: tester pots are for testing, which is mostly about looking at the colors. These really aren't intended for the actual projects.
Topcoat
When finished, apply a topcoat of acrylic or water-based paint to protect your mural from weathering. You can also use exterior enamel or water-based polyurethane as a sealant. So, basically, you can seal it with anything. Just be careful that you don't select something that will yellow. Again, talk to your local folks who know paint. These same people will probably also have ideas about how your area's weather patterns and climate impact paint. Think about the difference in what humidity could do to different kinds of paints and surfaces. Make sure you don't over apply a topcoat. Try to keep this coat even and avoid overworking it with the brushes. This is probably best left to the adults; but you may have some kids that can resist the urge to just keep going over the same spot with their brush. You know your students. Use your best judgement.
As an example, I have painted exterior murals before where I was advised not to use a topcoat because of the type of paint, surface and location I selected. However, I also have a friend that painted a mural across town who did need to use a polyurethane sealant because of the type of paint, surface, and location. So, topcoats will be relative to the choices made in the other steps of this process.
Conclusion
What other tips do you have? Do you have other mural-related questions I can work on addressing? Let me know! I am always happy to chat or try to find the information that will help you and your students live your best creative lives!
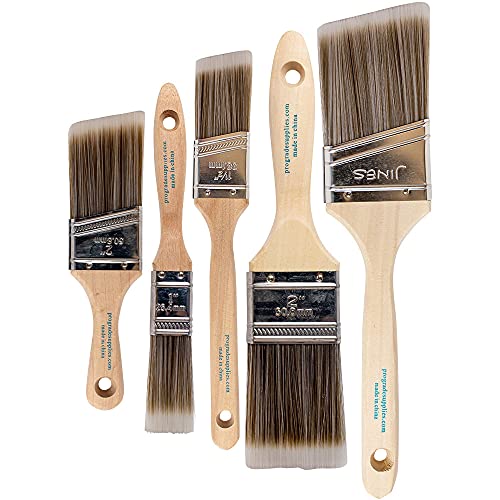
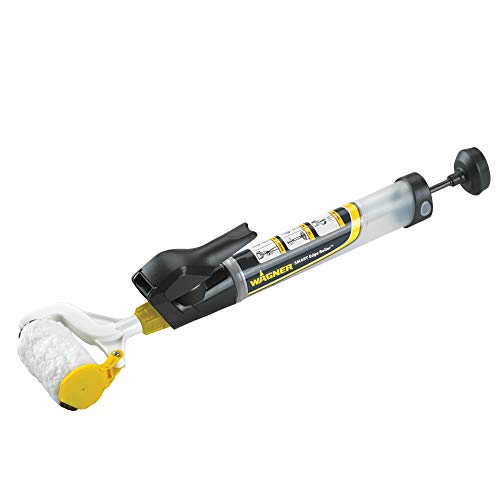
I thought I’d add some links to some of my favorite mural-painting brushes, just in case you want to check them out.