How to Make Really Easy Animal Masks with Plaster Wrap
Using a variety of materials and textures to create an art project can teach students more than they’ll realize. To them, it’s simply fun to create animal masks. However, as a teacher, I can see so much learning taking place.
Sure, valuable learning takes place when students make masks using paper-based materials, but making a plaster mask takes the experience up a notch. Use this art idea to introduce your students to using materials that are icky, sticky, and squishy - but most of all, FUN!
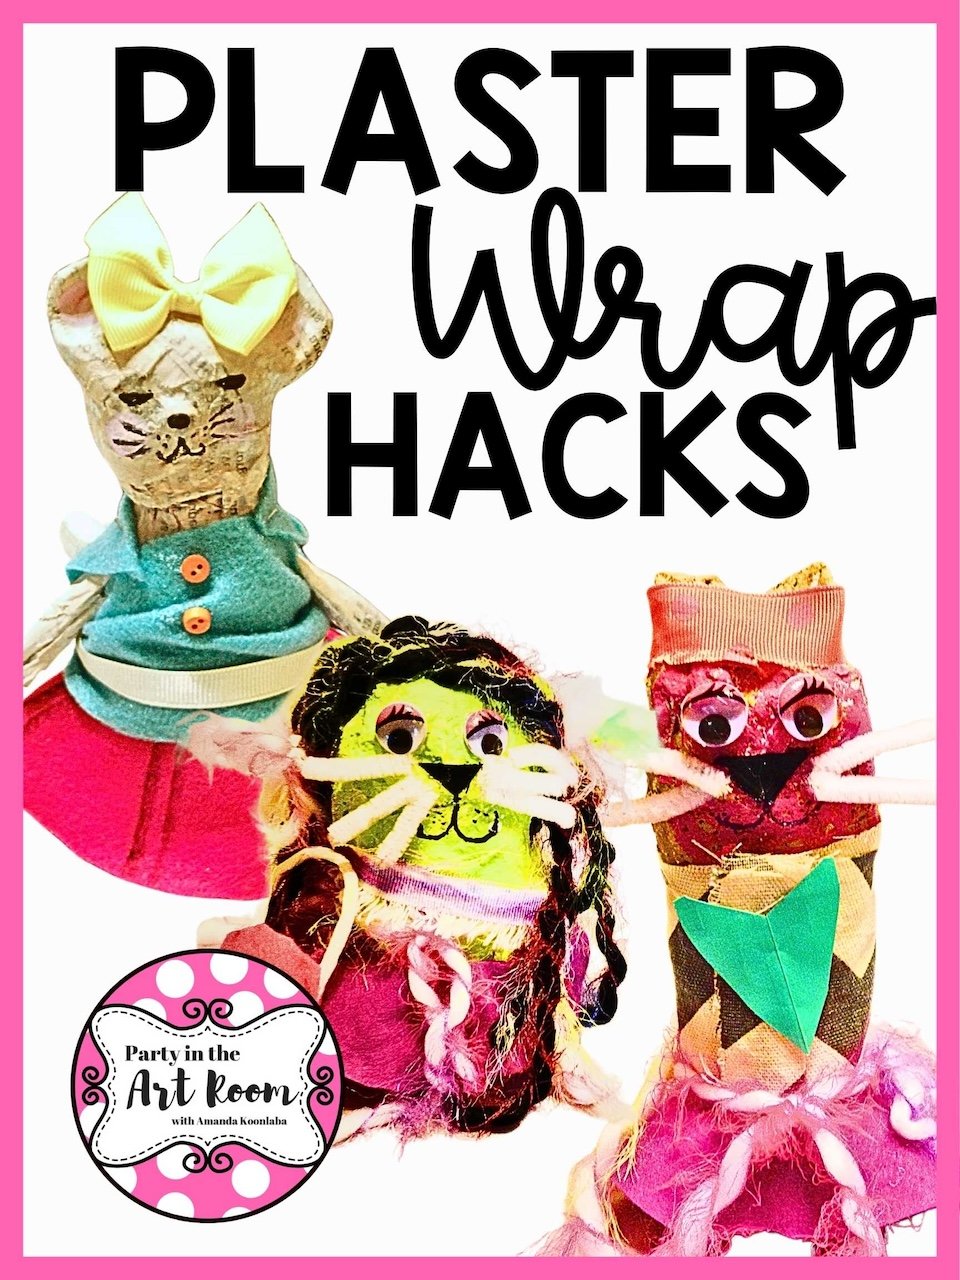
Grab the Plaster Wrap Hacks HERE to learn about plaster masks and more.
Animal Mask Project Details
For this project you’ll want to plan for at least three total hours of completion time. This is best done with upper elementary-aged students. For the materials, you can try to get some donated, such as the mask forms and plaster wraps. In short, you’ll need:
Time Frame: 3- 45 minute sessions
Grade Level: 4th grade
Materials: plaster wrap, mask molds/forms, water, tub for water, acrylic paint, paintbrushes, knick knacks for eyes and hair

Grab the Plaster Wrap Hacks HERE to learn about plaster masks and more.
How to Animal Masks with Plaster Wrap and Molds
My fourth graders absolutely loved this project. I must say that I have never seen them so engaged in anything. Because I only had one set of mask molds, I had to rotate the classes so that one class made masks each week. The first classes that got to do it told all the rest of the classes. Thus, they came to art begging for it to be their turn to make the masks.
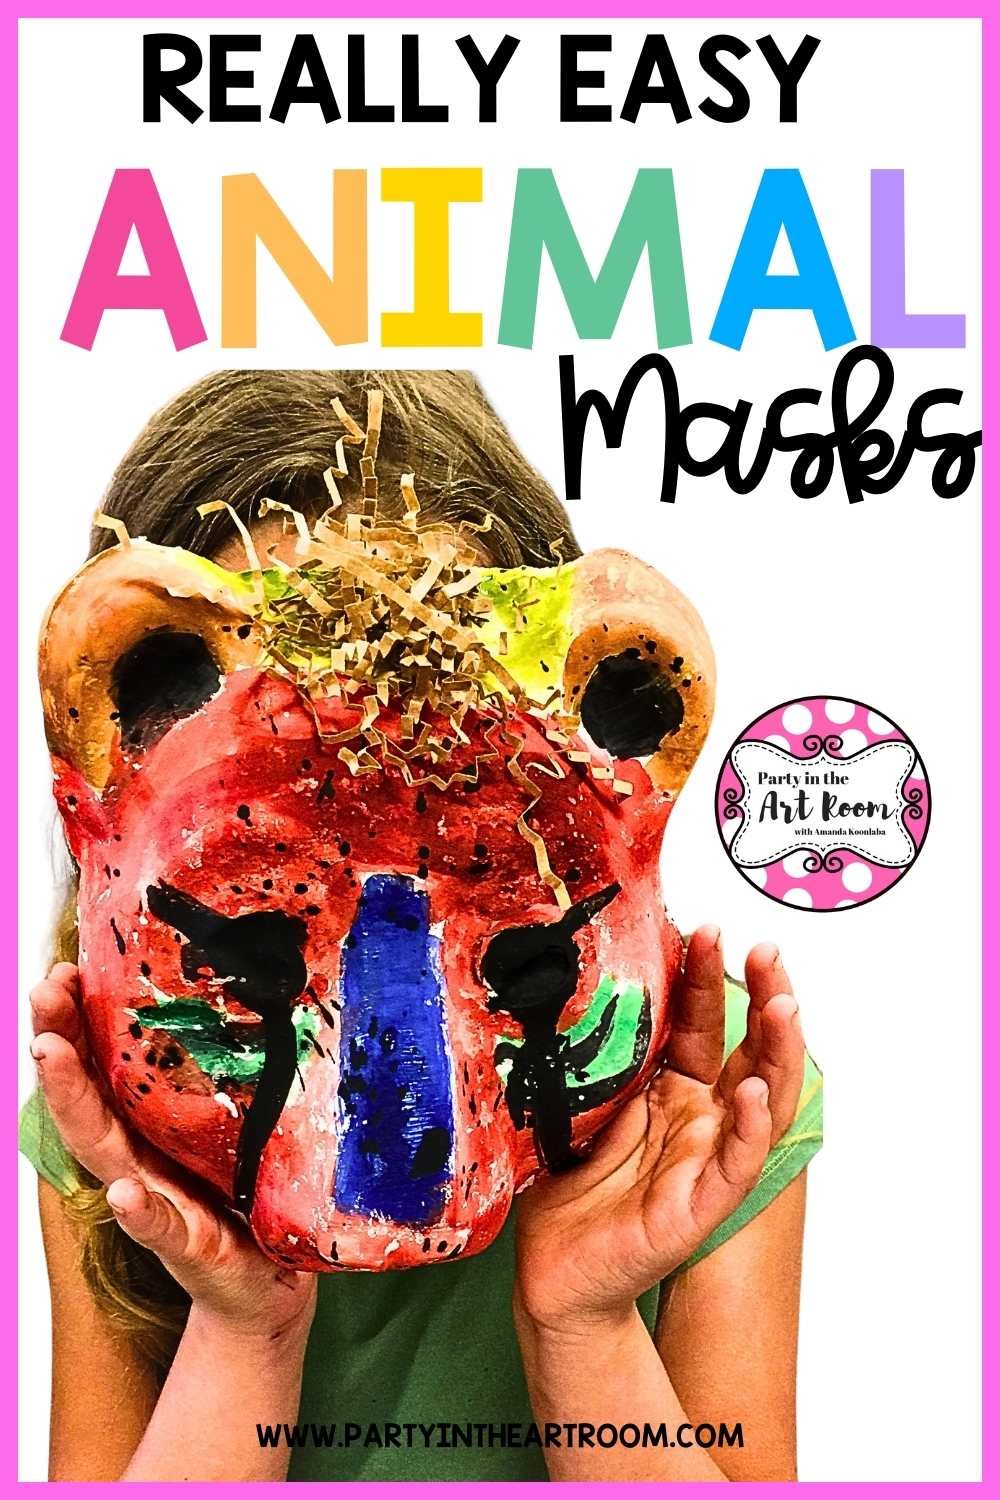
Basically, all you have to do is wet the plaster wrap with water and lightly squeeze some of the water out. If you aren’t familiar with plaster wrap, do a quick internet search. It looks kind of like what you’d think a cast would’ve been made out of years ago. I told the students to use their pointer and middle fingers to make scissors and run them along the wrap. It is very important to warn them not to squeeze all of the water out or they will lose the plaster. Then, they just put the plaster wrap into a mask mold.
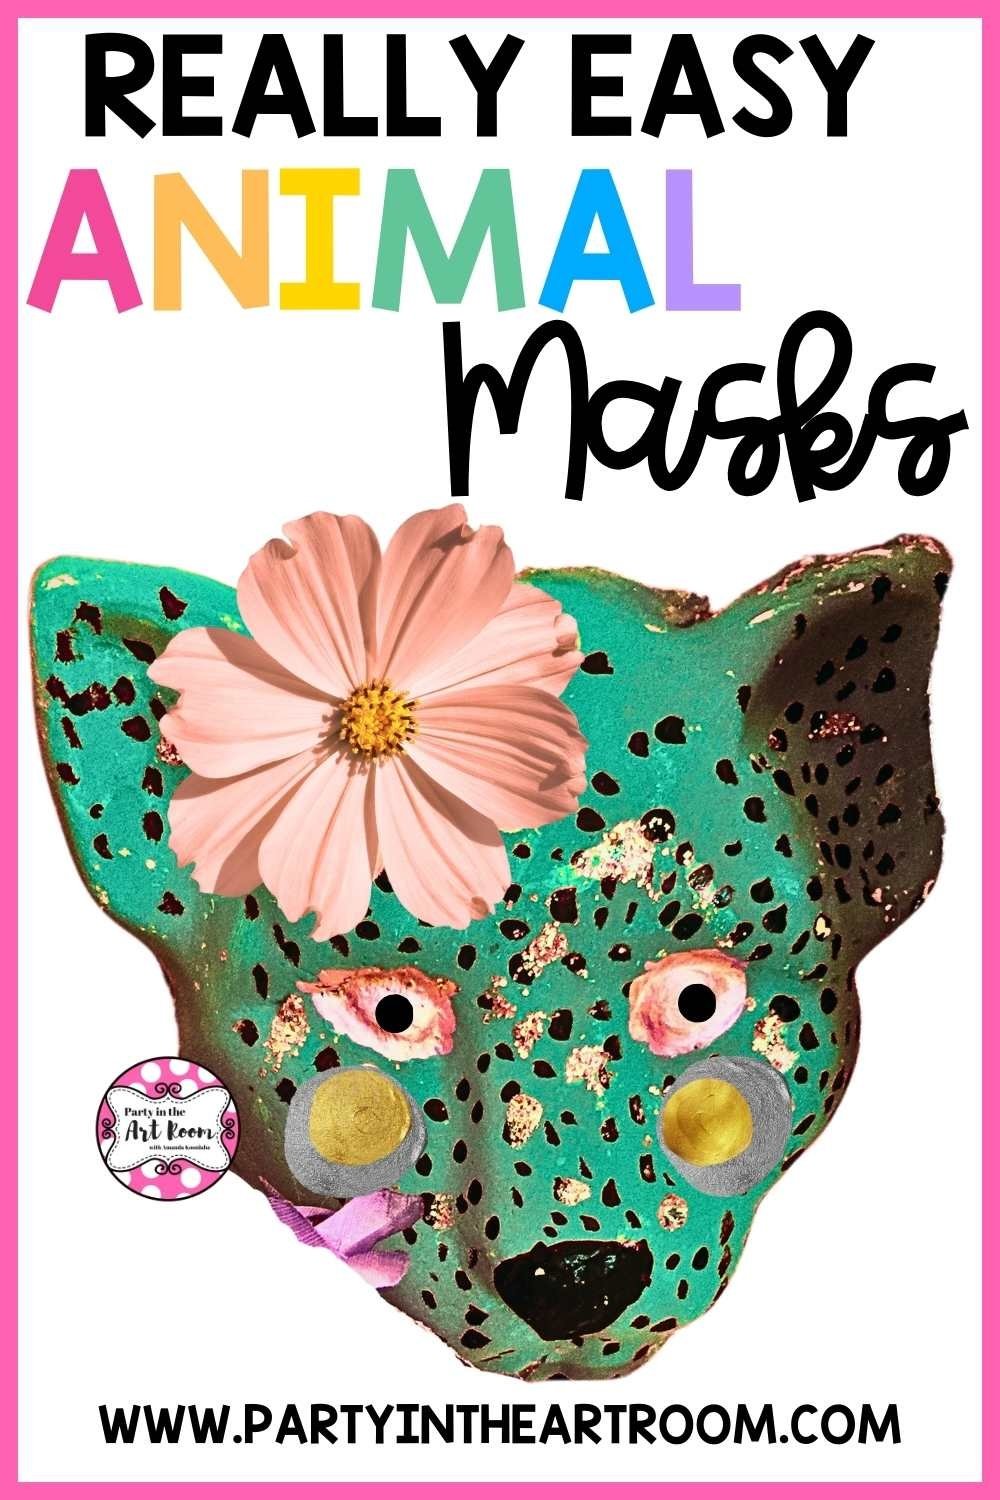
We used animal mask forms or molds. It takes 4 layers of plaster wrap. Three layers creates a mask that is too thin, and five layers is slightly too thick! It takes a couple of days for it to dry completely. You will think it is dry by the next morning, and the packaging will say it dries in only hours. However, my advice is to wait for at least two nights.
You will need to pop the dried mask out of the mold like ice from ice trays, and it is harder if the mask is still damp. Label a sheet of paper for the masks to help stay organized. You can't put names on them while they are wet (obviously). This method worked great for us because we had to take the masks to another room to dry. The paper also made it easier for the students to carry.
I do not recommend letting the students remove the masks from the molds. It can be tricky, so it is best if an adult does it. Use acrylic paint to paint the masks and add details with knick knacks such as sequins, buttons, yarn, or ribbon.

Grab the Plaster Wrap Hacks HERE to learn about plaster masks and more.
Ideas of What to Do With the Finished Animal Masks
Once your students finish making their masks you can have a mask wearing party, hang them on the wall, or send them straight home. I find that students get a confidence boost when their artwork is put out for display. Consider showing off their masks by hanging them on the walls in the hallway (or door).
Want more ideas for using plaster wrap in the classroom? Click here to get the FREEBIE delivered to your inbox!
Grab the Plaster Wrap Hacks HERE to learn about plaster masks and more.
Plaster Wrap Hacks is a free, one-page download that includes 20 classroom-tested project ideas AND 9 game-changing tips for making plaster wrap work in the classroom.

Grab the Plaster Wrap Hacks HERE to learn about plaster masks and more.
Affiliate Disclosure: Party in the Art Room is supported by its audience. When you purchase through links on this site, a commission may be earned.