Contemporary Folk Art Painting for Kids
Teaching students about contemporary folk art can be both fun and exciting. It’s a concept that carries deep historical meaning and can often be used to help students tap into their own artistic creativity. In this art lesson, my students learned about a contemporary artist and how to draw landscapes in contemporary folk art style. This is an art project you can easily do with your students too!

Characteristics of Contemporary Folk Art
Folk art is an artistic style that originated hundreds of years ago and was coined by pheasants, laboring traders, and common folk of different countries from all around the world. What sets this style apart the most is its defined look. The characteristics that define this look are:
no illusion
lack of depth
no distance
exaggerated/distorted proportions
bright colors
childlike imperfections
Even though these characteristics don’t seem all that positive, folk art is actually charmful and appealing. Its childlike features make it the perfect lesson for young (and older) students!

Contemporary Folk Art Painting Lesson for Kids
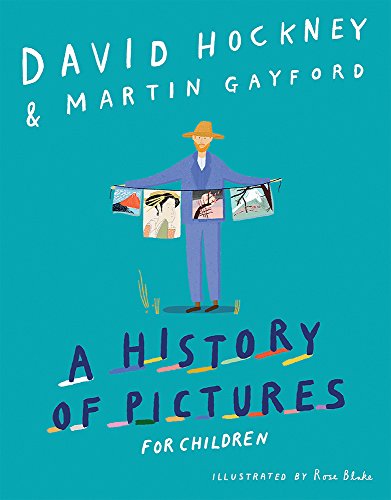
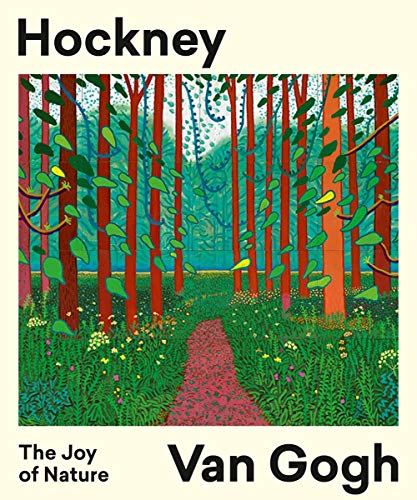
As always, I love incorporating literature into my lessons. In this case, my students learned about contemporary artist David Hockney. Although he probably wouldn't consider himself a folk artist, we looked at his landscapes and realized they meet many of the criteria in the definition of folk art.
His art includes decorative, intangible forms of expressive culture in the colors and patterns and often reflects shared cultural aesthetics in the depiction of rolling hills, etc. The following books are perfect for reading and teaching during this lesson:

The Lesson Plan
We did a strategy for looking at art called I See Three while viewing David Hockney's landscapes. Hockney is a prolific creator, so the specific landscapes we used were ones with patchwork-like grounds and rolling hills with bright colors and patterns.
Students looked for colors, lines, and shapes in the works. I See Three refers to:
1. color
2. line
3. shape
In other words, seeing three of the elements of art. They have to notice these in the artwork and then speculate on why the artist chose to use them. A lot of times students will say things like, "because the artist likes it." That's insufficient. So, model this thinking first. Have them practice it. The students will get better at it the more they do it.
Then, they had to draw their own landscape using these basic shapes and lines. Drawing an imaginative horizon line is the first step because it helps the students divide the sky and the ground. Encourage them to make the horizon line whimsical. It doesn't need to be straight.
The basic shapes and lines were also used to create patterns in the landscape. Do a lot of modeling to help students with proportion. Painted using acrylic paints. When the first coat was dry, students traced first with white tempera and then with black tempera.
They use a small brush and hold it closer to the end of the handle than they normally would. This loosens their grip and their wrists. They paint lines quickly, only redipping their brush in the white or the black if it is not making any mark at all. This is also something they get better at the more they practice.
I have them practice on sheets of scrap paper to get the feel for it. Muscle memory helps a lot with this technique. You can notice the way this looks in their artworks if you notice the white and black outlines. This is just a different painting technique that provides a different visual interest.
Final Thoughts
This technique can be used with other contemporary art lesson plans as well. Don’t forget to make it a full, well-rounded lesson by including literature and connecting dots with real-life experiences. I’d love to know if you do this with your students!